
My husband and I remodeled our laundry / mud room last fall. We’ve conquered many projects including removing the old laundry room “closet” & the old linoleum to expose the original hardwood floors, pulled down the drop ceiling and vaulted the ceilings, revamped the pantry with new DIY shelving, installed a pocket-door, and built a new bathroom vanity from a reclaimed dresser. Finally, we’re getting around to adding in the finishing touches, including a clothes rack.
DIY Clothes Rack on the Cheap!

I like to keep clothes hangers in the laundry room so that the clothes can be hung as soon as they come out of the dryer. Before the remodel, we had an old shower curtain rod that fit into our closet nicely to hold hangers. I looked at commercial options that hideaway inside a cabinet (like this pull-down closet rod) as well as telescopic valet rods, but couldn’t find exactly what I wanted. So, my husband Matt decided that we’d take a trip to the hardware store and pick up some supplies to make our own. Here’s how we did it!

This project requires less than $10 worth of supplies:
- (1) 3/4″ electrical conduit
- (1) 1/2″ electrical conduit (This we already had leftover from another project)
- (1) package of conduit hangers (found in the electrical section)
- (1) package of furniture ends (found in the specialty hardware drawers)
- (1) can of spray paint
You’ll also need a pipe cutter to cut the conduit. If you don’t have one (or if it breaks like ours did) a hacksaw will cut through the conduit.
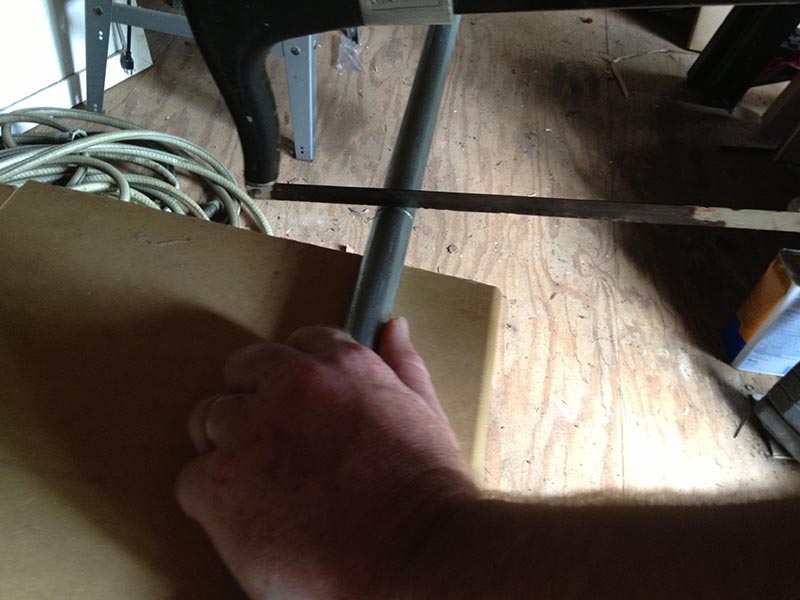

We’re planning on mounting our clothes rack to the bottom of our 36″ wide upper cabinet, so we first cut the 3/4″ conduit to 36″ long. Our scrap of 1/2″ conduit was already cut to about 38″. I decided that it would be a good idea to leave the inner rod a couple of inches longer than the outer rod so that it wouldn’t get stuck inside. Next, we used a sanding block to scuff the surface before painting.
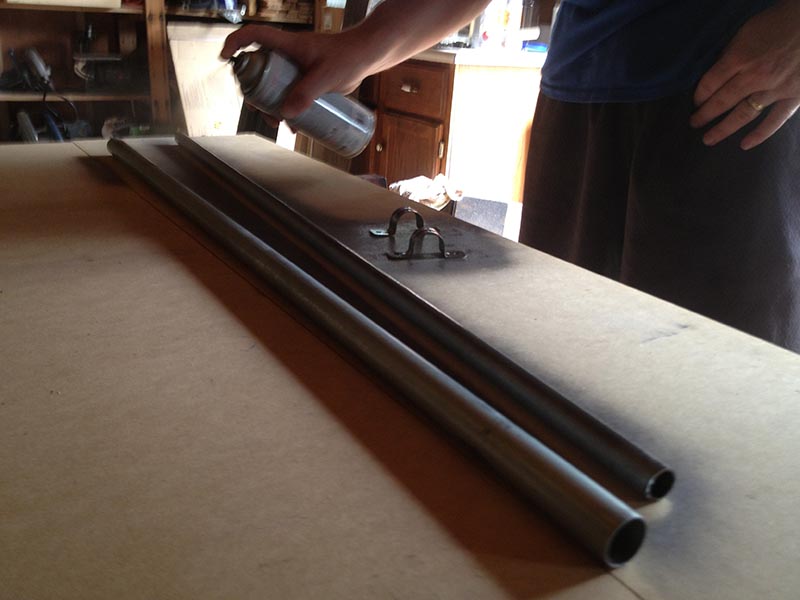
The two pieces of conduit, conduit hangers, and screw heads were all painted with a hammered spray paint. Not an expert spray painter? Read my spray painting tips.


Once everything was dry, it took about 5 minutes to assemble and install our DIY clothes rack. First, we inserted the furniture ends into the 1/2″ conduit–these plug up the end of the conduit and protect the wall & dryer from being dented. Then, the smaller conduit is inserted inside of the larger conduit.

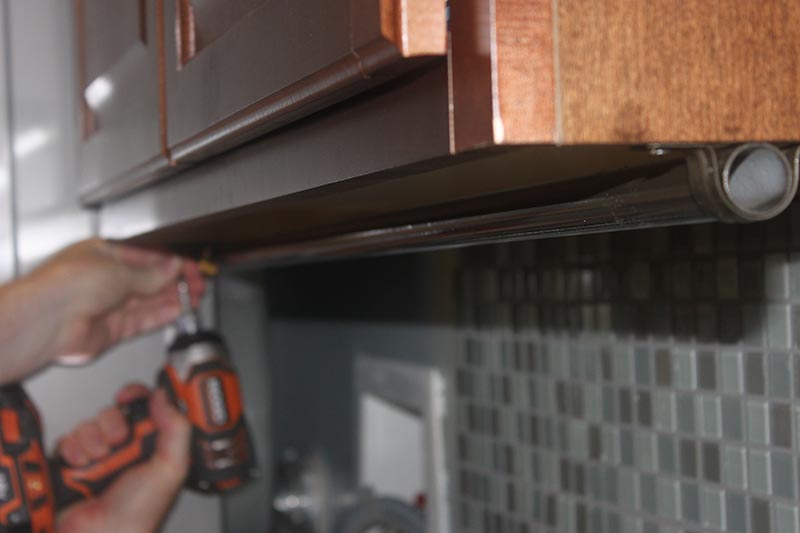
After measuring and deciding on a location far enough away from the wall to allow the hangers room to hang, we simply put the rod in place, and, using screws, secured the brackets to the underside of the cabinet.

That’s it! Now we have a great place to neatly store our hangers right by the dryer.

When the laundry is dry, the rod easily extends for hanging, then retracts out-of-the way when done! What a great addition to our laundry room! I’m so glad Matt came up with this idea. And, it was cheap (my second favorite word!)
I am a Freelance Graphic Designer full of creative interests! In my spare time, I love to create something new from something old, embark on home decorating and renovation projects, try out new recipes, and attempt to garden. Beyond the artistic pursuits, I have a love for music and enjoy playing the piano and handbells.


